Tag: ANT Migration Tool
-
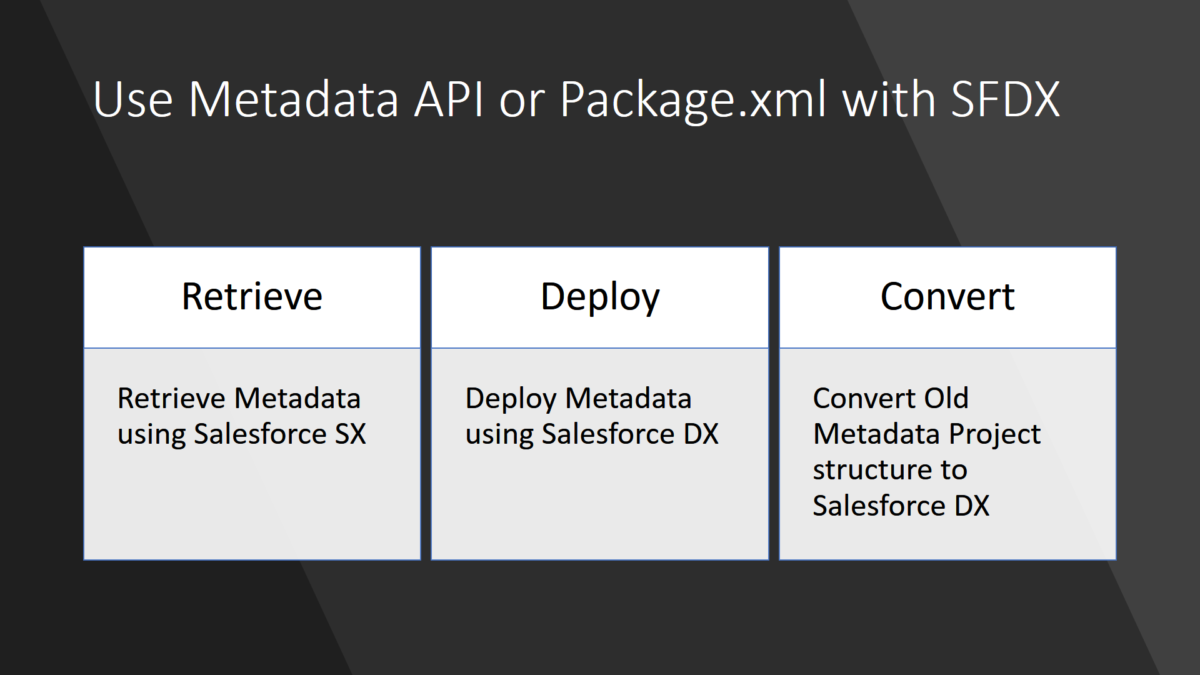
Use Metadata API with Salesforce DX
How to use SalesforceDX to deploy metadata in Sandboxes or Non-Scratch Salesforce instances
-
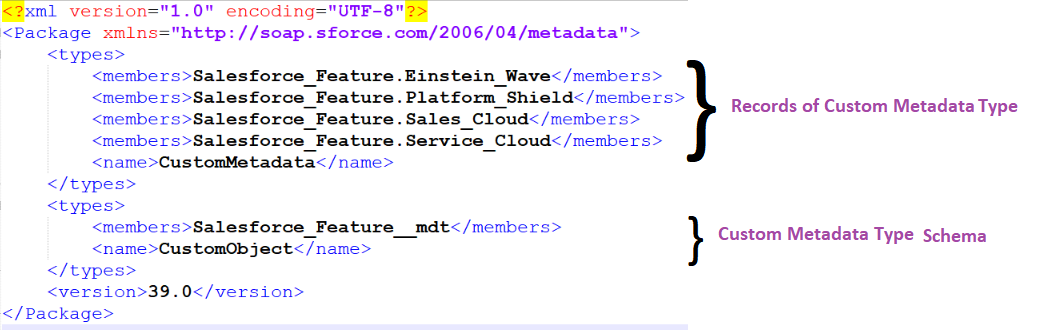
How to Retrieve and Deploy Custom Metadata Types using ANT
Using Salesforce ANT Migration toolkit to retrieve and deploy custom metadata types with record. Sample Package.xml and ANT script included.
-
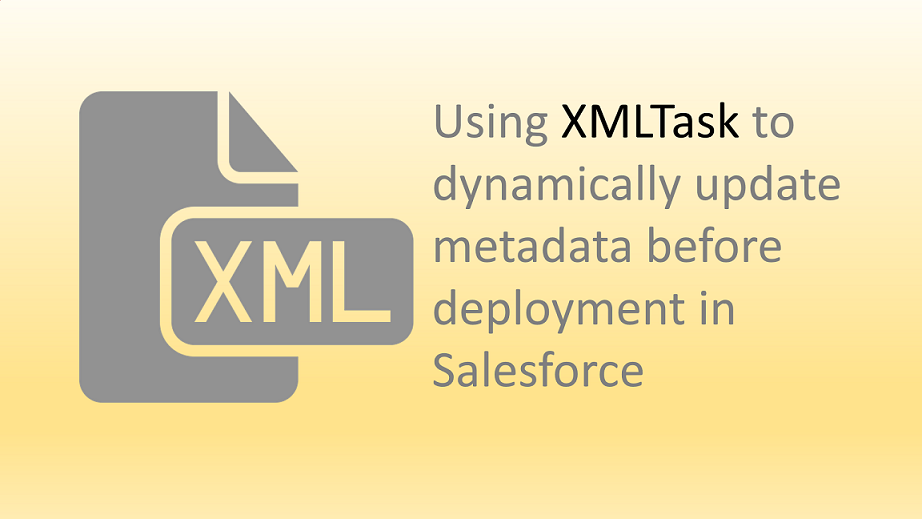
Dynamically remove XML content from metadata before Salesforce deployment using xmlTask – Video
Example – automatically remove listview before deployment
-
Delete Components using Ant Migration tool – Video
This video tutorial shows that how we can delete components like Apex class, trigger from Salesforce using ANT migration tool.
-
Continuous integration in Salesforce Using Jenkins and Git | Video Tutorial
As your Salesforce Organization undergoes heavy customization and frequent builds, moving changes from one Sandbox to other sandboxes starts taking longer time and effort. Also, in normal Salesforce project, there are chances that you will have minimum three sandboxes likely Developer Sandbox, QA Sandbox and UAT Sandbox. After some time you will be in need…
-
Automated Daily Backup of Salesforce Using ANT Migration Tool and GIT
In few previous articles, I have talked about how to use “ANT Migration tool in Salesforce” and “How to Use EGit plugin in Eclipse to work with Git“. So to make this article short, I assume that you are already familiar with ANT Migration tool provided by Salesforce and Git. During project development life cycle it…
-
Complete Salesforce Deployment Guide using Ant Migration Tool
Step by Step tutorial of Salesforce Migration using ANT tool with Proxy settings and retrieving content from Salesforce Organization. Also fix some common errors like java.lang.OutOfMemoryError or unable to find tools.jar