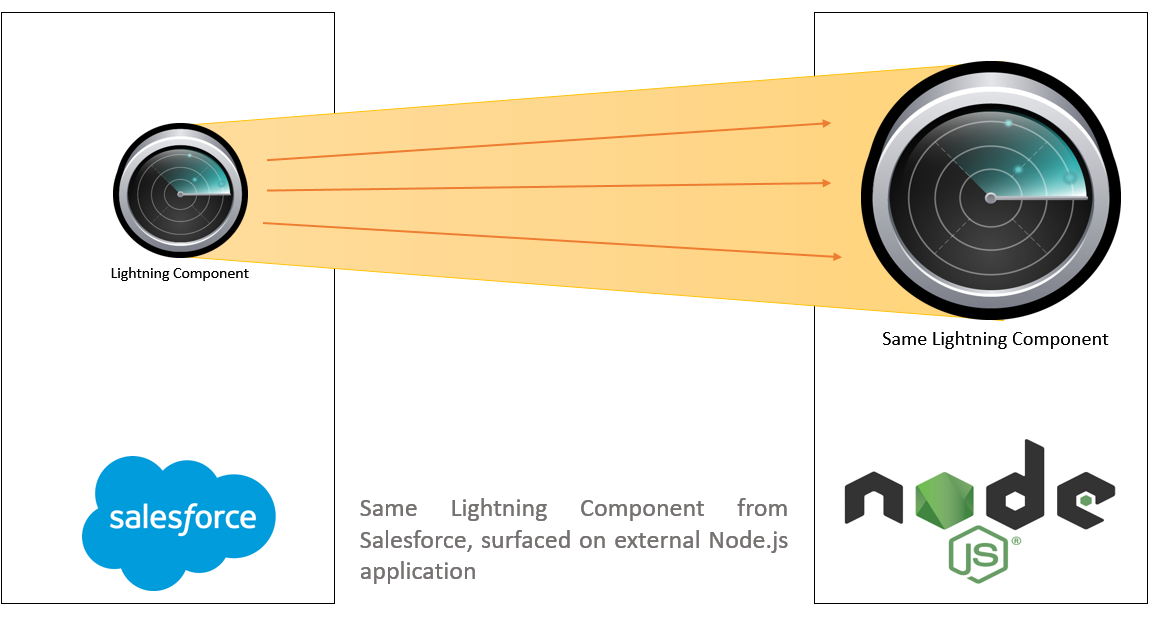
If you were the users of IGoogle, few years back, you would be excited to know that web development is progressing in that direction. Architect of web application development is getting shifted towards component based development by introducing concepts like Web Components and frameworks like polymer and Lightning Components. One of the possible use case of component driven development is ability to use whole component externally. In IGoogle, components were built by partners and then was exposed as widgets to be used on your custom Google home page. Salesforce product team, being visionary came up something like this by introducing Lightning Out. With the help of Lightning Out, we can surface our existing Lightning Component to external websites. Previously, we already discussed that how Lightning components can be used on Visualforce pages using Lightning Out.
Let’s see how we can do it.
You can find complete source code of this blog post in my Github repository.
Step 1 : Consider below simple Lightning application, name its as LightningOutDemo
<aura:application access="Global" extends="ltng:outApp">
    <aura:dependency resource="forceChatter:feed" type="COMPONENT" />
</aura:application>
There are few things to note in above code.
- Global access is defined at Lightning application informing that this application can be used globally in Salesforce instance
- ltng:outApp – This component extends ltng:outApp indicating that this can be used outside Lightning framework, like in Visualforce page
- aura:dependency – This tag indicates, which component can be used to show as part of Lightning Out.
We are using standard Lightning component forceChatter:feed, which will show a logged in user’s chatter feed.
Next step is to create a SSL certificate which can be used in Node.js application. This step is important, as Lightning component would be rejected by Same-origin policy and we can fix it by adding our Node.js application’s URL in Salesforce CORS (Cross-Origin Resource Sharing) setting.
Step 2 : Create X.509 Certificate using OpenSSL
Download OpenSSL from here and run below commands to create self signed certificate.
openssl req -newkey rsa:2048 -new -nodes -keyout key.pem -out csr.pem
openssl x509 -req -days 365 -in csr.pem -signkey key.pem -out server.crt
Above command will create two files – server.crt and key.pem which needs to be used in Node.js application.
Step 3 : Create Node.js Application
I would be using almost same code as of my previous post where we built Simple Salesforce IDE using Tooling API. However there are three below major changes in Node.js application.
a. Allow CORS in Node.js
Below method is added in Server.js file which enables Cross Origin Resource Sharing (CORS).
/*Allow CORS*/
app.use(function(req, res, next) {

	res.setHeader('Access-Control-Allow-Origin', '*');
	res.setHeader('Access-Control-Allow-Headers', 'Origin, X-Requested-With, Accept, Accept-Version, Content-Length, Content-MD5, Content-Type, Date, X-Api-Version, X-Response-Time, X-PINGOTHER, X-CSRF-Token,Authorization,X-Authorization');
	res.setHeader('Access-Control-Allow-Methods', '*');
	res.setHeader('Access-Control-Expose-Headers', 'X-Api-Version, X-Request-Id, X-Response-Time');
	res.setHeader('Access-Control-Max-Age', '1000');

	next();
});
b. Use SSL (X.509) with Node.js
var options = {
  key: fs.readFileSync('./key.pem', 'utf8'),
  cert: fs.readFileSync('./server.crt', 'utf8')
};

https.createServer(options, app).listen(8081);
c. Include Lightning Out Javascript
To use Lightning component in our external application, we need to import Lightning out Javascript file, which can be found at
https://YOUR-DOMAIN.lightning.force.com/lightning/lightning.out.js
Don’t feel like you are lost in ocean from above steps 😉 , complete source code can be found at my Github repository here.
Step 4. Create Connected App in Salesforce
There are many ways to authenticate Salesforce from your website. Most secure and recommended way is to use OAuth. To use OAuth, we need to create a Connected App in Salesforce which contains various settings like what can be accessed by external application and after authentication where to redirect Salesforce login etc. If you are creating Connected app first time in Salesforce, then please visit this URL for detailed information. Make sure that callback URL in your connected app is https://localhost:8081/oauthcallback.html. Once Connected app is created, copy consumer key and update OAuth.js file with this key.
Step 5. Enable CORS in Salesforce
This step is to add our Node.js application in CORS setting of Salesforce. It allows, our Node.js application to use Salesforce resources like Javasript and CSS. So save https://localhost:8081 in CORS setting of Salesforce.
Step 6. Finally running Node.js application to use Lightning Component
If you are at this stage that means you already have Lightning out enabled Lightning application, connected app and Node.js application. Assuming, you have downloaded source code from github repository, run below commands in downloaded directory.
npm install
npm start
If everything works fine, you will see message on console saying Server listening for HTTPS connections on port 8081.
Navigate to https://localhost:8081/ and you will see page asking to login. After successful login, below page would be displayed, which is nothing but Lightning Component running in Node.js using Lightning Out.

Demo Video explaining code

Leave a Reply